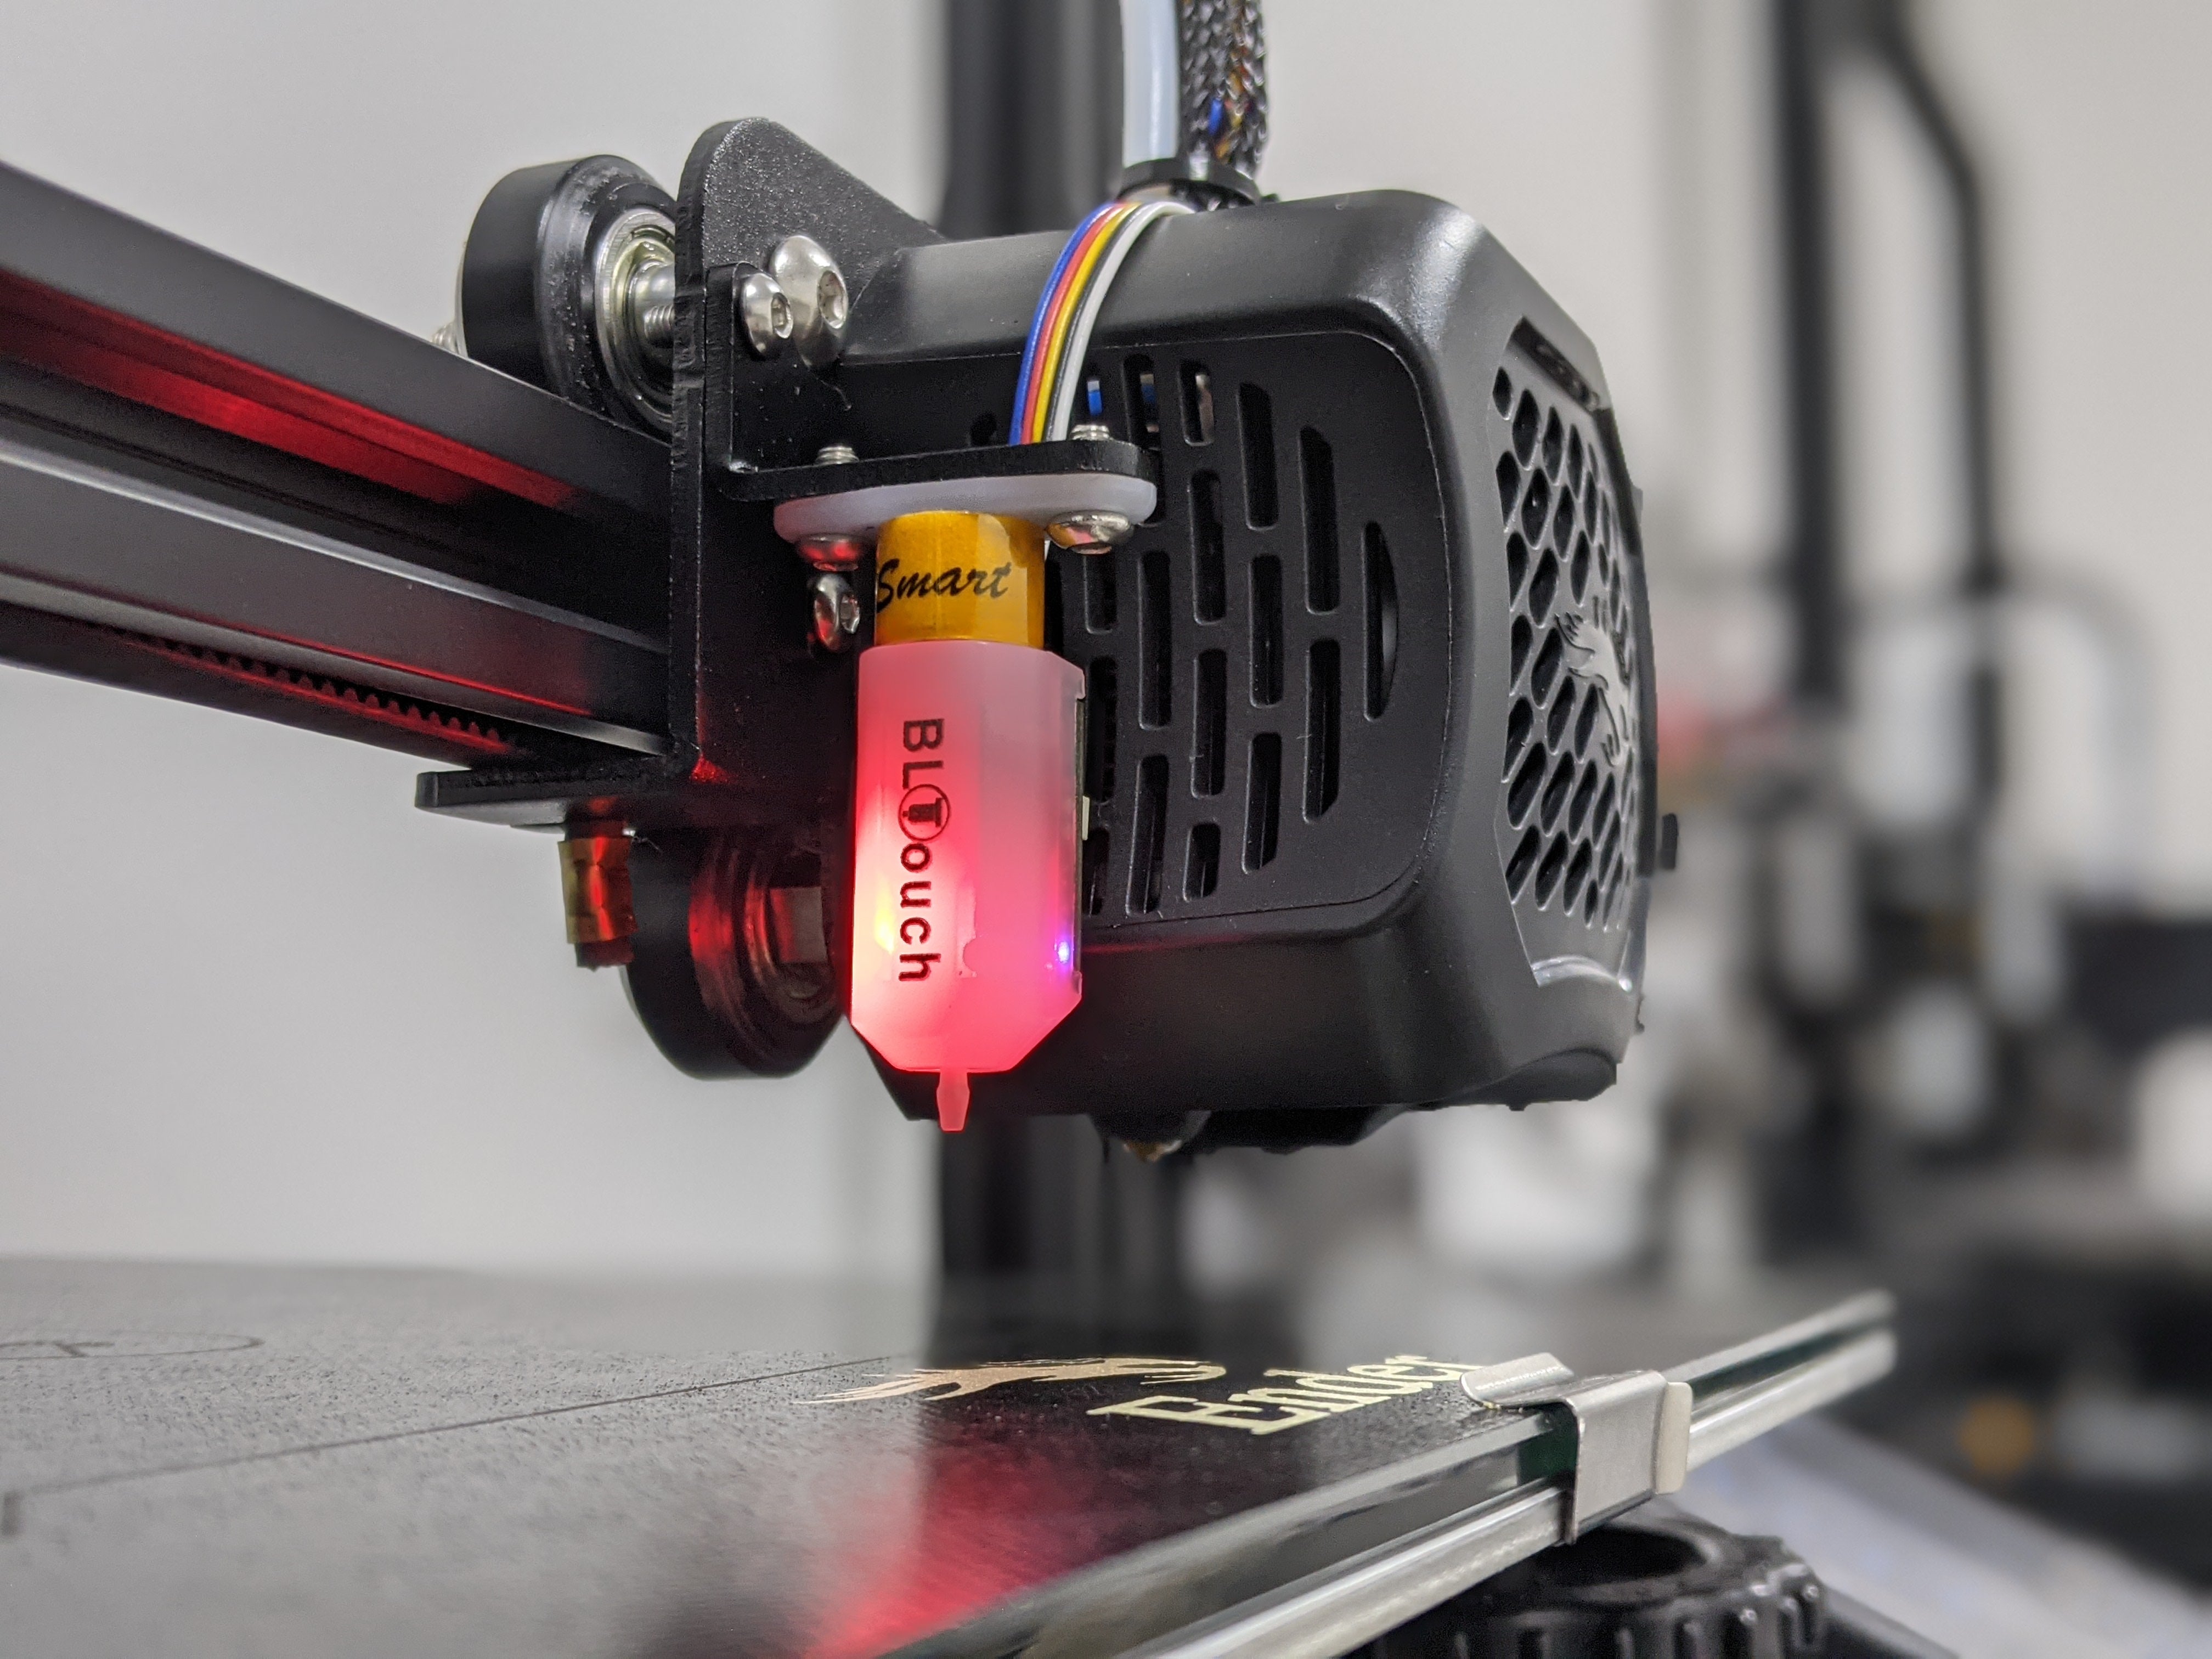
While Creality’s BL Touch for Ender 3 V2 comes with a set of instructions included in the box, we found it quite lacking and some of our customers accidentally scratched their glass beds because of missing instructions. As such, we have created a tutorial detailing how to set up the BL-Touch on the Ender 3 V2 without damaging your printer in the process.
NOTE: If this is the first time using the Ender 3 V2, we highly recommend you setting up the printer without using the BL-Touch first and do a test print with manual leveling to ensure that all connections and the standard setup is completed correctly.
Step 1: Access your printer’s motherboard
Remove the motherboard cover by unscrewing the 3 bolts (2 X M3*6, 1 X M3*8) on the underside of the printer and the 1 bolt (M3*6) from the top side of the printer as shown below


After opening the cover, take note of the motherboard version number. In our case the version is 4.2.2. At the time of writing, there are 2 versions of the Ender 3 V2 motherboard, the V4.2.2 and V4.2.7.

Step 2: Remove z-axis limit switch
With the BL Touch, the printer detects the nozzle’s vertical position (Z-position) by using the probe on the BL-Touch instead of using the Z-axis end stop limit switch. As such we will need to remove the limit switch and connection to the motherboard to prevent conflicting information sent to the motherboard.
Remove the cable labelled “Z”, connected to the 3rd port from the top right as shown below.

To remove the wire completely from the enclosure, unscrew the 2 front facing screws as shown below.

With the screws removed, you will be able to remove the Z-axis cable from the gap:

Once that is done, you can reinstall the front facing screws.
Next, remove the Z-limit switch. This can be done easily by loosening these 2 screws.

Step 3: Connect and thread BL-Touch cable
With the Z-limit switch and cable removed, next is to connect the BL-Touch cable to the motherboard.

With the cable connected, you can either cable-tie the cable to the wire netting all the way to the nozzle assembly or for a neater look you can thread the cable through the wire netting.
To thread the cable through the wire netting, first remove the cable ties holding the cable netting such as the following:

Then, with the BL-Touch cable connected to the motherboard as shown, thread the other smaller connector end through the netting all the way to the nozzle assembly.

The threading of the cable through the netting can be quite tricky. One method to thread more easily is to drag the cable through from the outside as shown below:

After the cable is threaded, the 2 ends of the cable should look like this.


Once that is done, you can re-install the motherboard cover as we do not need to access it anymore.
Step 4: Mount the BL-Touch on the Nozzle Assembly
To hold the BL-Touch in place, there is a bracket provided with the kit that is meant to be installed on the holes as shown below. Use the shorter 2 X M3*6 for this.

NOTE: Make sure the orientation of the bracket is as shown above as it is possible to install the bracket upside down and cause the probe to be too far from the nozzle height. Take note of the curved portion of the bracket.
Next, connect the cable to the BL-Touch. Do take note to ensure the cable is fully inserted as shown in the image below.

After that is done, mount the BL-Touch to the bracket with the other 2 provided screws as shown below. Use the longer 2 X M3*8 for this.

Step 5: Update Motherboard Firmware
For the motherboard to work properly with the BL-Touch, a firmware update is required. To do so, we first have to obtain the correct firmware update file.
Download the latest firmware file from Creality’s official download page: https://www.creality.com/download
Take note to download the correct files for your motherboard version. After the download, open the folder with “BLtouch Non-adapter board firmware” in its name. This is the latest version which does not require an adapter board. This is also the version we currently carry.

The process for updating the firmware on the Ender 3 V2 is relatively easy. All you need to do is to delete all the files in the microSD card you use for your printer and place the downloaded .bin file inside. Once done, place the microSD card in the printer and turn on the power. Below is a short video showing the steps mentioned to flash the firmware.
When the power is turned on, the motherboard will automatically update its own firmware with the provided .bin file in the microSD card. Note that the screen will be blank for a few seconds before the Creality Logo shows up. Once the firmware update is completed, you should see a new option “Level” show up on the main page.

NOTE: If your screen does not turn on after firmware upgrade, check to make sure that the firmware file you are flashing is the correct one for your motherboard. To rollback to the previous version, use the file under the folder with “original firmware” of the downloaded zip file.
Step 6: Determine and Set Z-offset
Before testing out the auto-leveling capabilities we have to first determine the Z-offset required
First, auto-home the printer. From the main menu, select “Prepare > Auto home”. You will realize that the printer now homes to the center of the bed instead of the bottom corner.

With the BL-Touch the Auto home function does not bring the Z position to 0. To adjust for the Z-offset, we must first move the nozzle position to 0. To do so, select “Move > Move Z > 0.0”. To prevent any accidental bed scratching, place a piece of paper at the bottom of the nozzle on the bed before moving the Z axis.

Now, to set the Z-offset, select “Back > Z-offset” and start to decrease the Z-offset value. Negative values mean the nozzle moves downwards. Start with decrements of 1 followed by 0.1 and 0.05 until you feel some resistance against the paper under the nozzle. Note that the nozzle only moves after you set the value and press the button to confirm. We find that typically the offset is somewhere between -2.50 to -3.50.

TIP: If you find that after you set a new Z-offset value, the motor does not move, change the Z-offset back to 0, auto-home again, move the Z-axis down as above and try again.
- Auto Home
- Move Z-axis back down to 0.0
- Set Z-offset
- Repeat
TIP: If your nozzle has some remnant filament from your previous print, heat up the nozzle and clear it away before doing this step as the excess stuck filament will affect the resistance you feel under the paper.

Step 7: Level Bed and Test Print
After the Z-axis offset is correctly set, it is time to test the auto bed leveling. Select the “Level” option on the main screen and wait for the auto leveling to be complete. The nozzle will move to 9 positions on the bed and measure the off-set values for each point, so that when you print a model, the printer takes into account the off-set values and prints higher or lower accordingly.
TIP: If at any point the BL Touch starts to flash red and the probe does not move, it means that the probe got stuck. To fix this, turn off the printer and manually pull down and push in the probe and restart the printer. If this happens very often, it might be time to change the probe which is also included in the kit.
Once the printer is done with the auto leveling, the next step is to do a test print to check that the leveling went well. We have adapted a GCODE file from CHEP to do just this.
Download Ender 3 V2 Leveling Test GCODE File
Copy this file into your microSD card and insert into your printer. (Remember to remove the firmware .bin file if you have not already if not the printer might reflash its firmware again) Select print and the printer will start to heat up and print the following grid pattern.

NOTE: Keep a finger on the power off switch to turn off the printer quickly if you see that the nozzle is going too low and is starting to scratch the bed.
To check the leveling, make sure that the test pattern printed is not too low or too high. If it is too low, you will not be able to see the filament printed out and in worse cases the nozzle will start to scratch the bed. If it is too high, the filament will be printed in the air. If you rub you finger lightly on the print, the filament should not come off too easily.

If you need to adjust the Z-offset, you can do so during the print. If you find that one corner is too high or too low, you can adjust the wheel manually during the print as well. Do a few of this test print to make sure that the leveling is good before starting to print your models.
NOTE: Whenever the printer is moved, we recommend doing the bed-leveling process again (Starting from Step 6) to prevent any accidental bed scratching.
NOTE: As of the time of writing, the firmware (V1.1.1) of Ender 3 V2 stores the BL Touch bed leveling data in the microSD card instead of the motherboard’s EEPROM. This means that you will need to re-do the leveling process if you change a microSD card.
Conclusion
We hope that this guide provides more information on how to install the BL Touch kit on your Ender 3 V2. If you still face issues with the product, feel free to comment down below and we will get back to you as soon as possible. Alternatively if you purchased the product from us, you can send us an email at contact@makersupplies.sg and we will be happy to assist you. Happy printing!


2 comments
Nick F.
Excellent write up. Where did you get a cable with the jst xh2.54 connector? I cannot find anything online except for the Dupont connectors. The one I have does not grab at all and I don’t entirely trust hot glue like everyone online suggests. Seems very odd they don’t provide cables for the E3V2 with the proper connectors.
Devin Trotter
Hey, this was really helpful and answered several questions in one place. Thank you very much for making this available. Various other resources on the internet were less descriptive and left out some very important steps, but you covered them. I actually found this site searching for a specific step that other sites left out. So, KUDOS! It is very much appreciated. Cheers!